Showing posts with label ink. Show all posts

Tuesday, August 21, 2018

FSJ Design Team Card #1

Every year FSJ says goodbye to the current Design Team and welcomes in a new group of Designers. Several weeks prior to announcing the names of the new team, they do a design call for submission of designs from anyone who is interested and willing to meet the requirements. This year in addition to submitting designs, FSJ required us to have specific social media requirements in place as well. Long story short, I completed everything, sent in photos of my all new design creations and was lucky to get selected to submit round two requirements. It was so exciting and nerve wracking at the same time. After submitting my round two stuff, won't bore you with details, then we all had to wait until the choices were made. I did not get selected to be on the new Design Team. Insert very sad face here. Won't go into details on my feelings, let's just get to the good stuff and I will just show you what I submitted in the next several posts, ok? All these designs are complete originals created by me. They depict my style, my favorite colors and are all things I really enjoy creating. 


This first card I made uses the Cottage Blooms stamp set in the Good Life suite in the large 2018-2019 catalog. Saying I love this set might be an understatement. It is just so pretty and I love flowers and I love the stamp style of them too. It is an outline image but with some shading to make coloring them really fun but still easy. The wood grain paper behind the bouquet and the blue buffalo plaid paper are from the Good Life Prints paper. I sponged the edges of the blue plaid with the matching Chambray Shirt blue ink. The doily behind the wood grain oval is die cut using our doily die and the oval using our FSJ ovals with pierced edges. I fussy cut the flowers right to the edge of the stamped image leaving the stems on and positioned in a bundle with the blue bow holding them together. All coloring was done with the Color Burst pencils before I cut them out. I filled in the center of the three flowers with Journey Glaze and then sprinkled on Sparkle Cuts to make them shimmer. The greeting is from the same stamp set, fussy cut that too then placed on bottom left of bouquet using foam squares. The yellow flower in the bouquet is also raised up on foam squares as is the blue bow. Layers are doily, wood grain oval, flowers, bow then the greeting. Before attaching all this to card front I tied three rows of Natural Twine around the left side of the buffalo plaid on Chambray Shirt blue layer and attached this to Oatmeal Cookie card base with foam squares. I also rounded the corners of the blue layer and buffalo plaid printed paper. Final embellishment is three pearls at the top left edge of twine. 

Everyone puts their cards together differently so I hope these directions make sense to you. Everything on this card is a design element I really like and will probably use a lot. Very country sweet which makes my heart happy. Hopefully you enjoy it too. I am working on getting a supplies listing gadget so I can add that to the bottom of my post. Until I figure that out just leave me a comment if you need item numbers for ordering or have a question for me. Subscribe to follow my blog so you don't miss the next posts of what else I designed. It's up there, under the About Me blurb on the right hand side of all my posts. See you next time friends! 

Happy Stamping,
Shannon 

Tuesday, August 7, 2018

In the Tropics Card Tutorial for Design Team

Yes, you read that right. A card making tutorial for you! I am trying out for the FSJ Design Team and part of our round two submission has to be a project design tutorial with photos posted to our blog. This is my first time doing anything like this so I would welcome any feedback you have. This is the card I will be showing you how to make. Hope you like it!


I will be using my favorite set from the large FSJ catalog on page 46 called In the Tropics. Everything I have made with it so far I have loved and I am also loving the ideas I am seeing on Pinterest for it. It also has a matching die set to go with it. OK, let's get started.

Supplies you will need are as follows:
Inks - Limeade Splash IP-0019
          Denim Days IP-0010
          Sweet Berry IP-0029
          Summer Days IP-0042
Printed Paper - RSVP Prints PP-0054, tropical leaf print cut to 4" x 5 1/4"
Card Stock - Cool Pool CS-0018, card base 4 1/4" x 5 1/2" folded in half
                     Whip Cream CS-0040 3 pcs, 2 1/4" square, 2 1/2" x 4 1/2", 3" square
                     Sweet Pear CS-0095 2 3/4" square
Stamps - In the Tropics bundle BD-0395 
               Embroidered Greetings SS-0057
Dies - Journey Squares Dies DI-0038
Other - Natural Twine AC-0005
            Fashion Gold AC-0292
            Journey Stapler TO-0118
            Staples silver TO-0120
            Small and Large Foam Squares AD-0084, AD-0085
            Glue Dots AD-0083
            Journey Craft Glue AD-0111
            Sponge Wedge JM-0014 
            Crease Tool TO-0040
            Journey Platinum die machine TO-0090

Directions:
1. Fold Cool Pool card base in half and press crease flat with crease tool. Sponge Denim Days ink around all 4 edges of leaves printed paper using sponge wedge. Attach to card base with craft glue.

2. Use third largest cutting die in FSJ Squares to cut square from Sweet Pear card stock. Before cutting, put the slightly smaller piercing die inside the square cute die and hold in place with washi tape. Cut and pierce card stock using your die machine.


3. Stamp 'Good Luck' greeting in Denim Days ink onto 2 1/4" square of Whip Cream card stock. Die cut with second largest square cutting die. Attach greeting to Sweet Pear pierced square using one large foam square in the middle. Attach to bottom left corner of card front.


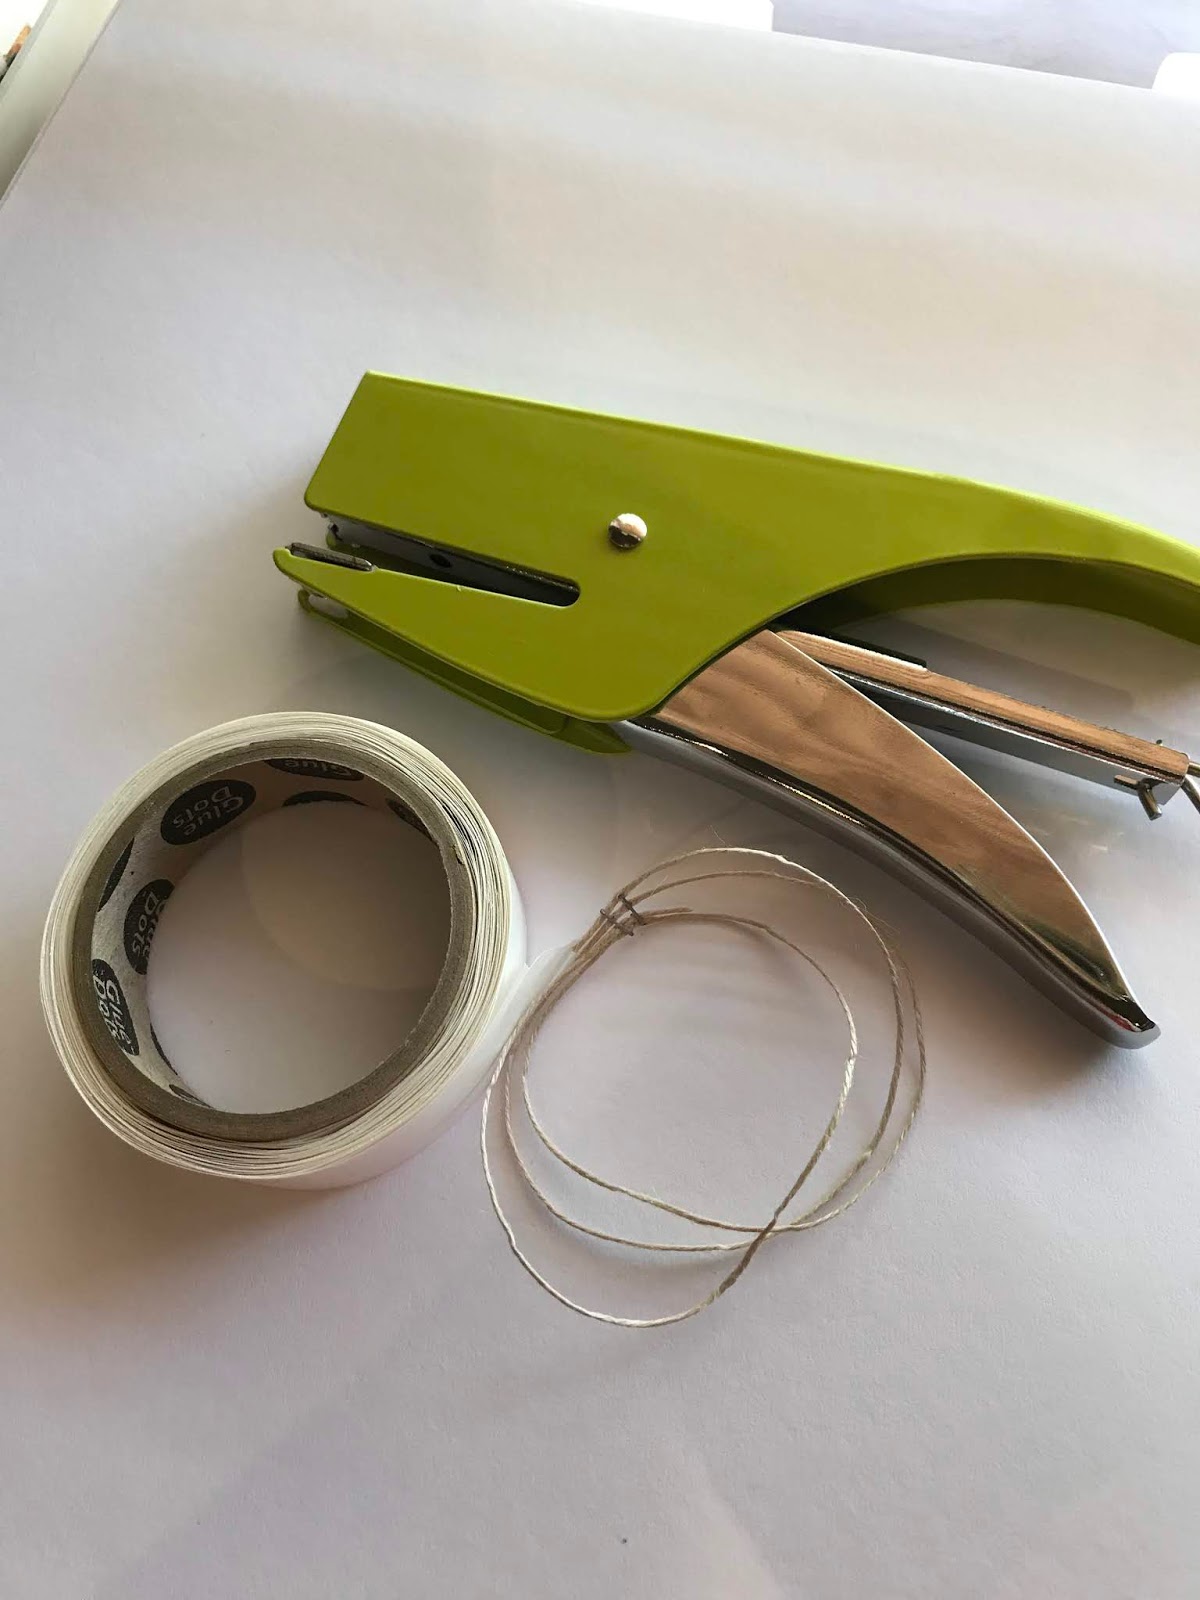
4. Gather Natural Twine into three circles on top of each other. Use Journey Stapler to staple ends together two times. Place a glue dot on back of staples and attach twine circles to card under the top right edge of the Whip Cream square. Spread apart circles.


5. Stamp large slotted leaf on Whip Cream card stock rectangle with Limeade Splash ink two times. Die cut each with leaf die. Attach to card front over the twine circles. Attach first leaf with glue dots, tucking under edge of Whip Cream square. Attach second leaf with foam squares slightly overlapped with first leaf. Make sure twine shows around edges of leaves. 


6.  To stamp small rounded flower, first ink stamp entirely with Summer Days ink. Then roll just edges of flower stamp in the Sweet Berry ink. Use a circular motion with the stamp tilted on the side never flat. Stamp flower on 3" square Whip Cream card stock. Repeat two more times cleaning stamp in between for each flower. Die cut flowers using the round flower die.


7. Attach one flower with a small foam square on the bottom left corner of greeting. Attach other two flowers over leaves in upper right corner of greeting using glue dots.


8. Finish off flowers and card with a medium Fashion Gold in center of each flower. Sign the back of your card and it is all done. 


Once again here is the finished card. 


I sure hope you enjoyed creating this card with me today and I hope you will shop for your Fun Stampers Journey stamps, ink and lots of other supplies right here.

Until next time, Happy Stamping!

Shannon